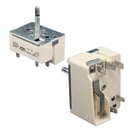
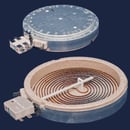
CONFIRM THE PART FITS
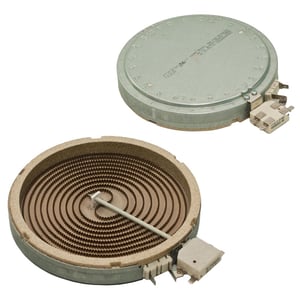
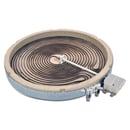
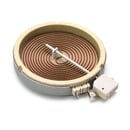
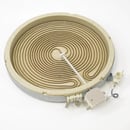
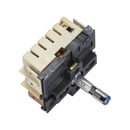
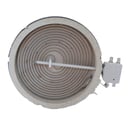
Range Radiant Surface Element, 8-in (replaces WP8185638) W10823693
Part #W10823693
Part Information
This surface element (part number W10823693) is for ranges.
Surface element W10823693 supplies the heat to a cooking area on top of the range.
Unplug the range or shut off the house circuit breaker for the range before installing this part. Wear work gloves to protect your hands.
Frequently Used Together
- $168.65 |7% OFF Phone Price : $180.65
- $17.07 |10% OFF Phone Price : $19.07
- $166.63 |7% OFF Phone Price : $178.63
- $123.90 |9% OFF Phone Price : $135.90
- $57.06 |10% OFF Phone Price : $63.06
- $64.38 |9% OFF Phone Price : $70.38
- $153.12 |7% OFF Phone Price : $165.12
- $99.87
- $77.73 |7% OFF Phone Price : $83.73
- $153.09 |7% OFF Phone Price : $165.09
Top models using the same part
| Model Name | Model Number | Diagram Name |
|---|---|---|
| Model #KECN560YWH0 KitchenAid electric cooktop | KECN560YWH0 | Replacement parts |
| Model #AR140W Jenn-Air accessory | AR140W | Accessories (glass cartridge) |
| Model #AH150W Jenn-Air accessory | AH150W | Accessories (glass cartridge) |
| Model #AR140B Jenn-Air accessory | AR140B | Accessories (glass cartridge) |
| Model #AH150B Jenn-Air accessory | AH150B | Accessories (glass cartridge) |
| Model #JEA8120ADB Jenn-Air cooktop | JEA8120ADB | Glass cartridge |
| Model #JEA8120ADW Jenn-Air cooktop | JEA8120ADW | Glass cartridge |
| Model #KECC568MWW00 KitchenAid electric cooktop | KECC568MWW00 | Cooktop parts, miscellaneous parts |
| Model #KECC568GBL0 KitchenAid electric cooktop | KECC568GBL0 | Cooktop |
| Model #KECC501GBL0 KitchenAid electric cooktop | KECC501GBL0 | Cooktop |
Reviews
changing your elment easy job
It was easy to change and install the part, The part came ready to be install and done in 10 to 15 min
Reza s, Undisclosed
Did you find this review helpful?
- Ease of Installation
- Very Easy
- Duration of Installation
- 30 minutes - 1 hour
Instruction sheet was not helpful
First the pictures on the instruction sheet were dark and not easy to see. I was told that the part was the right replacement part, but the instruction sheet did not address how to connect the wires of my appliance, a jennaire cooktop with 2 wires attached to the burned out element, to the new replacement part. I talked online to a Sears rep, and she sent me some videos to help with the repair. The only video that actually helped was the one of the guy explaining that one side of the limiter was 240 and the other side was 120, because I started questioning attaching those wires to opposite sides of the limiter. Otherwise, the videos were useless for my problem. I finally found online another parts store with a blow-up picture of how to connect the wires after hours of trying to study your videos. Simple. connect both of the wires to the 240 side.
Marthy, Undisclosed
1 person thought this review was helpful.
- Ease of Installation
- Easy
- Duration of Installation
- More than 2 hours
