- Kenmore refrigerator water filters
- Whirlpool refrigerator water filters
- Samsung refrigerator water filters
- GE refrigerator water filters
- LG refrigerator water filters
- Frigidaire refrigerator water filters
- KitchenAid refrigerator water filters
- Maytag refrigerator water filters
- Kenmore Elite refrigerator water filters
- Estate refrigerator water filters
- GE Profile refrigerator water filters
- Amana refrigerator water filters
- Bosch refrigerator water filters
- Dacor refrigerator water filters
- Electrolux refrigerator water filters
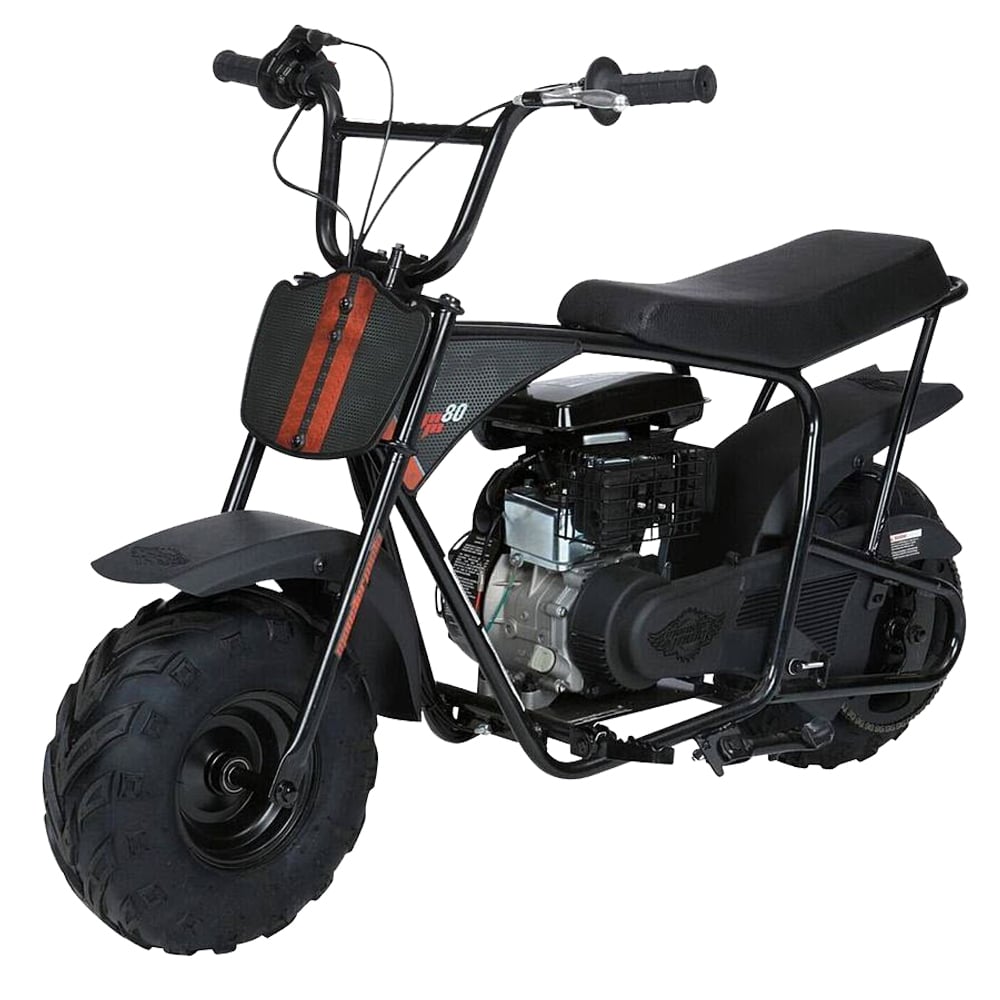
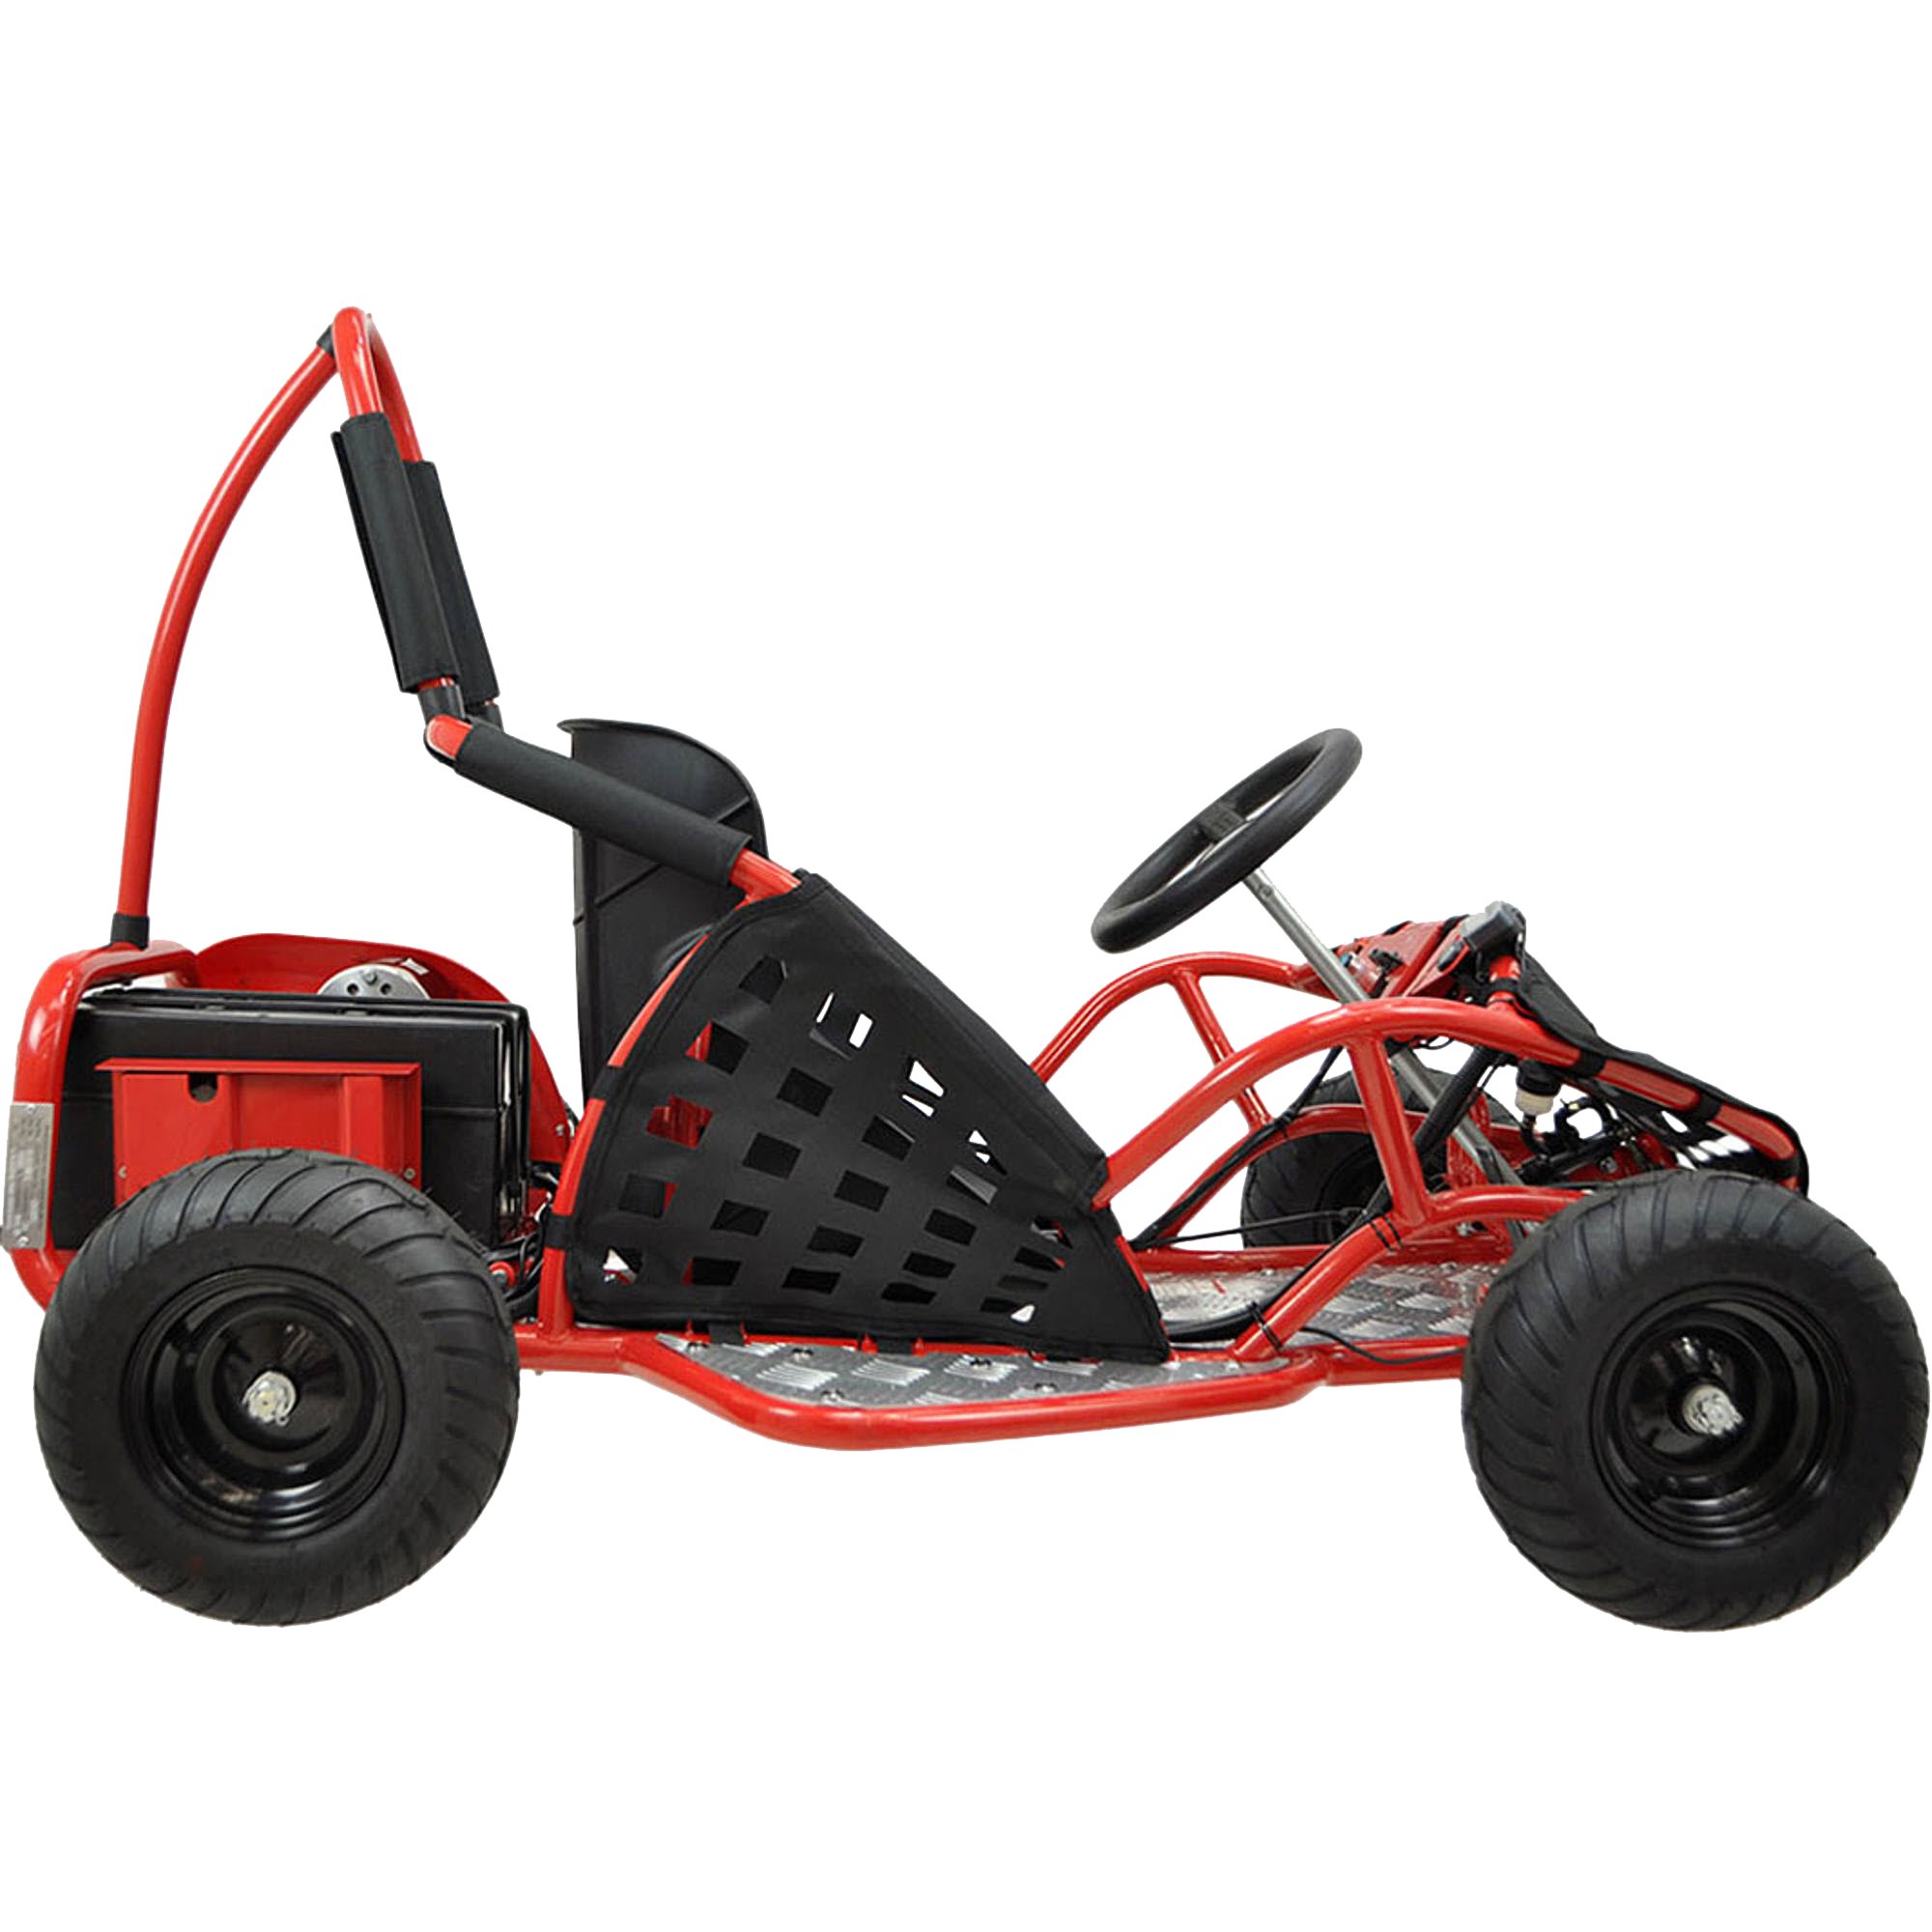
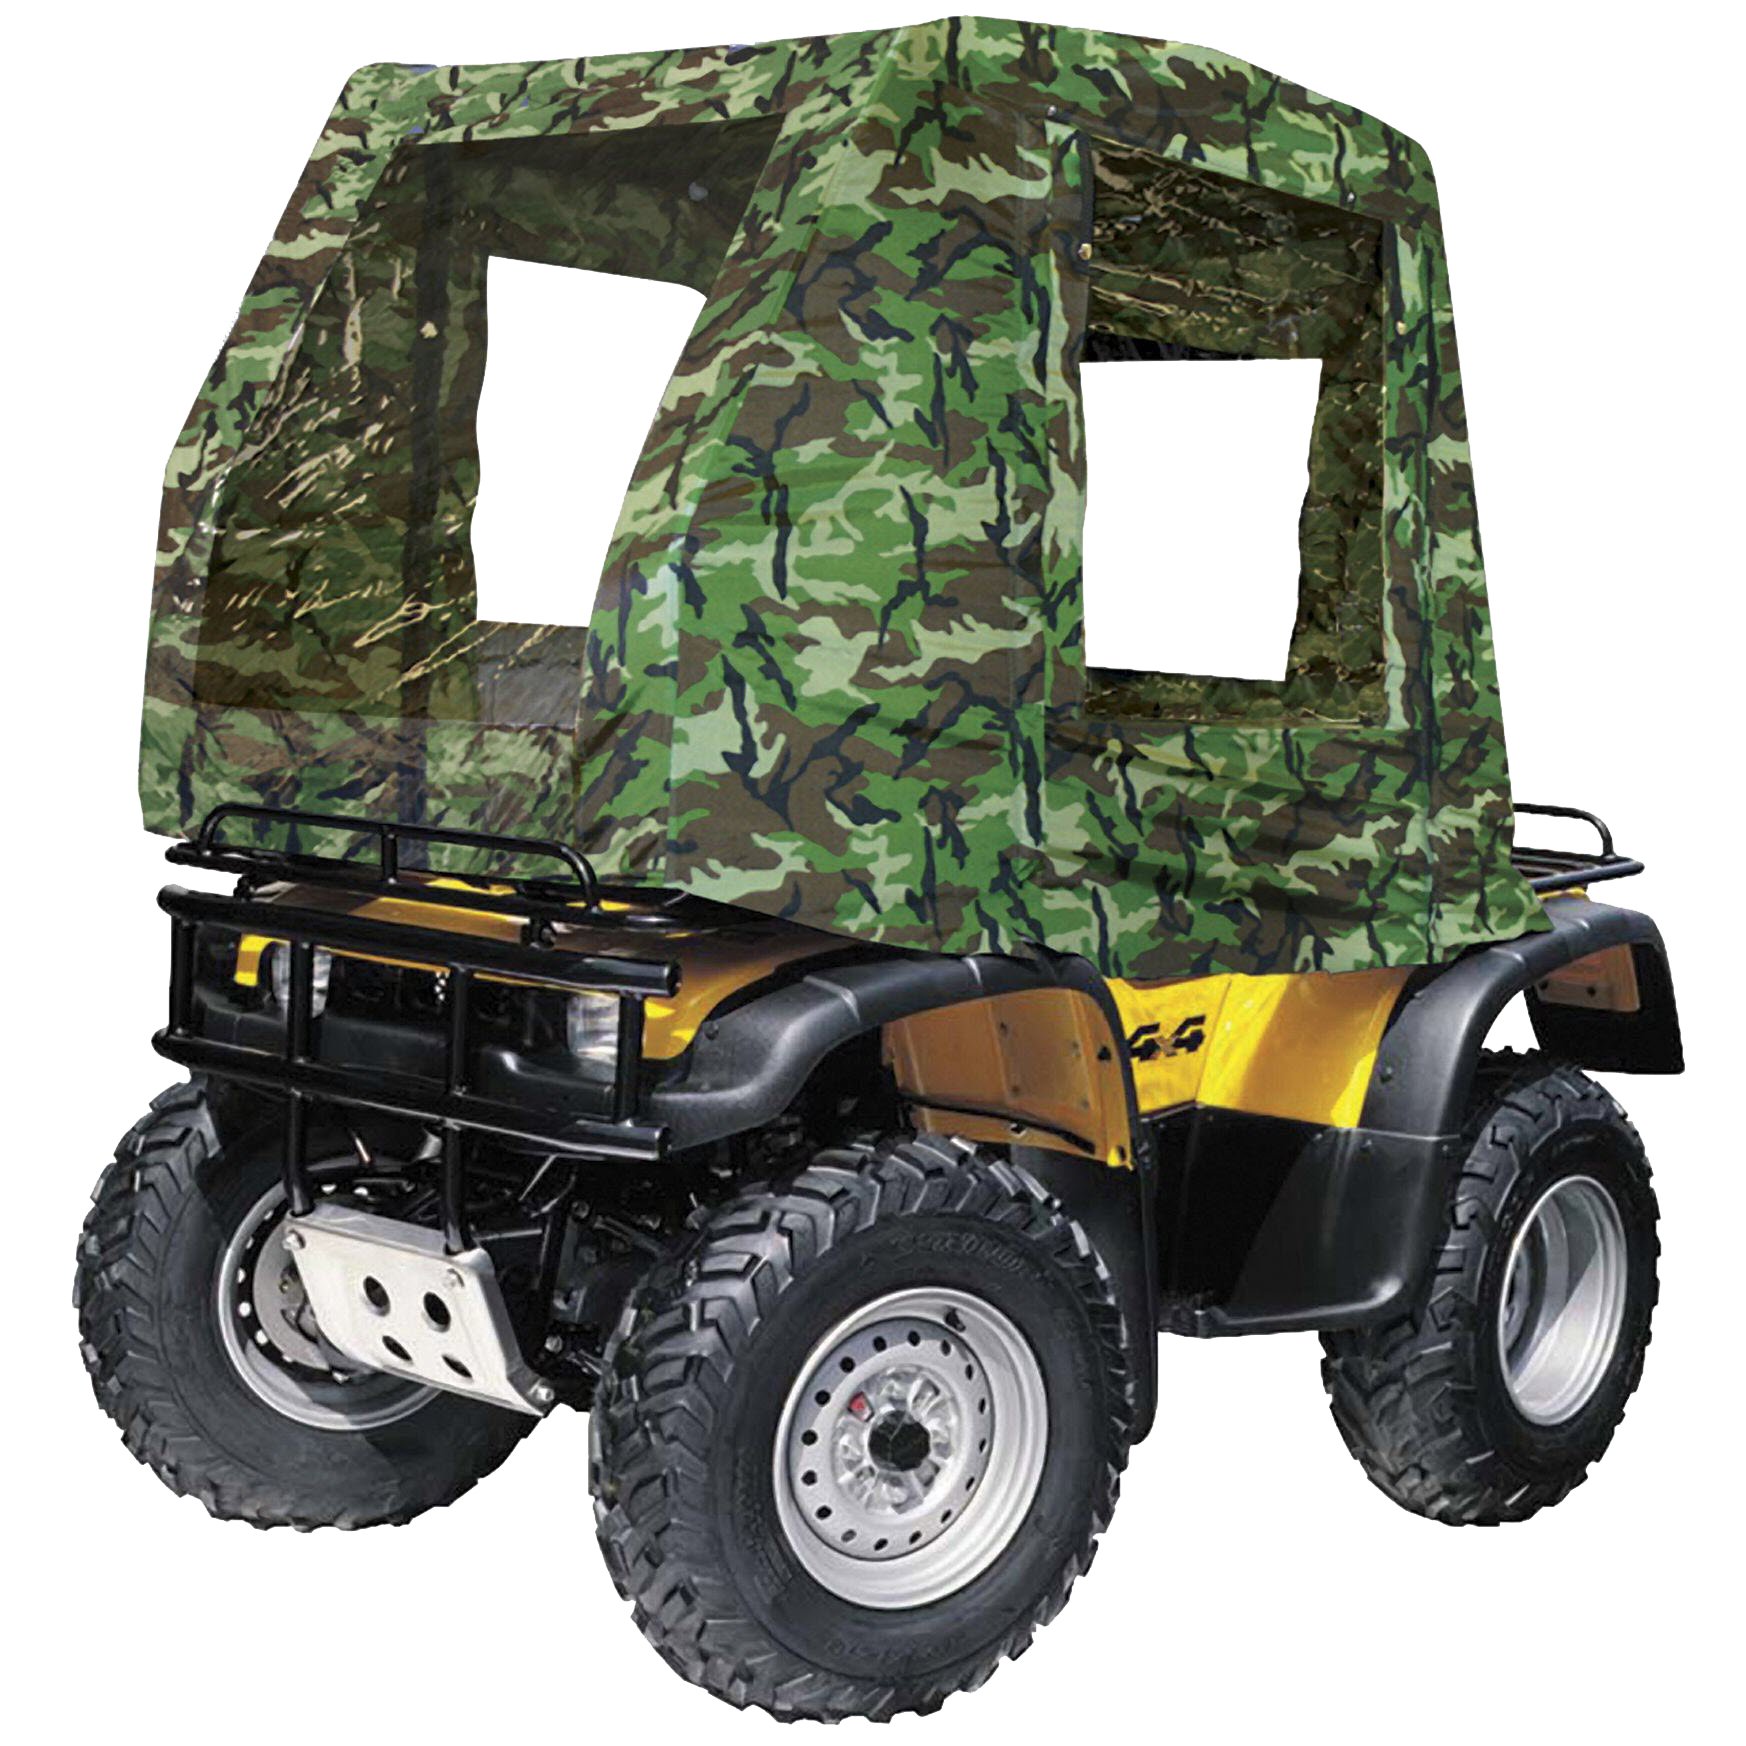
Baja makes ATVs and mini scooters for off-road recreational use. These vehicles have a lot of small mechanical and electrical components that can get damaged and stop working. By the very nature of their intended use, these parts undergo a lot of stress that can wear them down quickly. This is especially true if the machine is ridden hard or doesn't receive regular maintenance.
Baja product parts
More Baja product parts
| Baja powersports Parts |
| Baja toys & games Parts |
Maintenance tips to avoid problems with your Baja equipment
- The air filter is one of those parts that if overlooked can inhibit engine airflow if clogged. A dirty air filter can lead to a loss of horsepower, cause excessive engine noise and even result in premature engine failure.
- Another easy-to-fix problem that can turn into something major is loose bolts. Hard riding will loosen even the snuggest bolt, leading to all sorts of issues. You should regularly check the pivot, sprocket and skid-plate bolts. Also make sure to check the axle nut and wheel hubs.
- Changing the oil, radiator and transmission fluids at the manufacturer's recommended time intervals will do a lot to extend the life of your Baja vehicle. These lubricants will break down and become dirty over time, resulting in additional wear.
- If you go long intervals without riding your machine, there's a good chance that the fuel is dirty and needs changing. Dirty fuel can be avoided by either emptying the tank or putting a fuel additive in the tank.
- In order for the moving parts on your machine to not seize up, they need to stay lubricated. This includes keeping the axle and drive parts greased.
How to replace the brakes on an ATV
- The first step to changing the brakes is to break all of the lug nuts loose while the machine is still on the ground.
- Next, lift the ATV up using a jack until the wheels are a couple inches off the ground. Remove the lug nuts and take off the tire.
- Remove the guard covering the brake caliper and remove the pin bolts, keeping the caliper attached to the rotor. Remove the caliper.
- After removing the caliper, take the debris covers off the caliper to expose the brake pads. Loosen the bolts holding the brake pads on and gently wiggle them off the caliper.
- Use a small C-clamp to push the piston back into the caliper so that you can get the new brake pads in position. Ensure the pads are secure, and you're ready to put everything back together.
